📖 Lesson content
Video
The Explore → Plan → Code → Commit Workflow
If you take one thing away from this course, let it be this workflow: Explore, Plan, Code, and Commit. Without it, most people jump straight to asking Claude to write code — which means more course-correcting later on.
Explore and Plan
The fastest way to handle these first two steps is with Plan Mode. In plan mode, Claude can't edit files — it just reads files to gather information about how it will tackle the implementation.
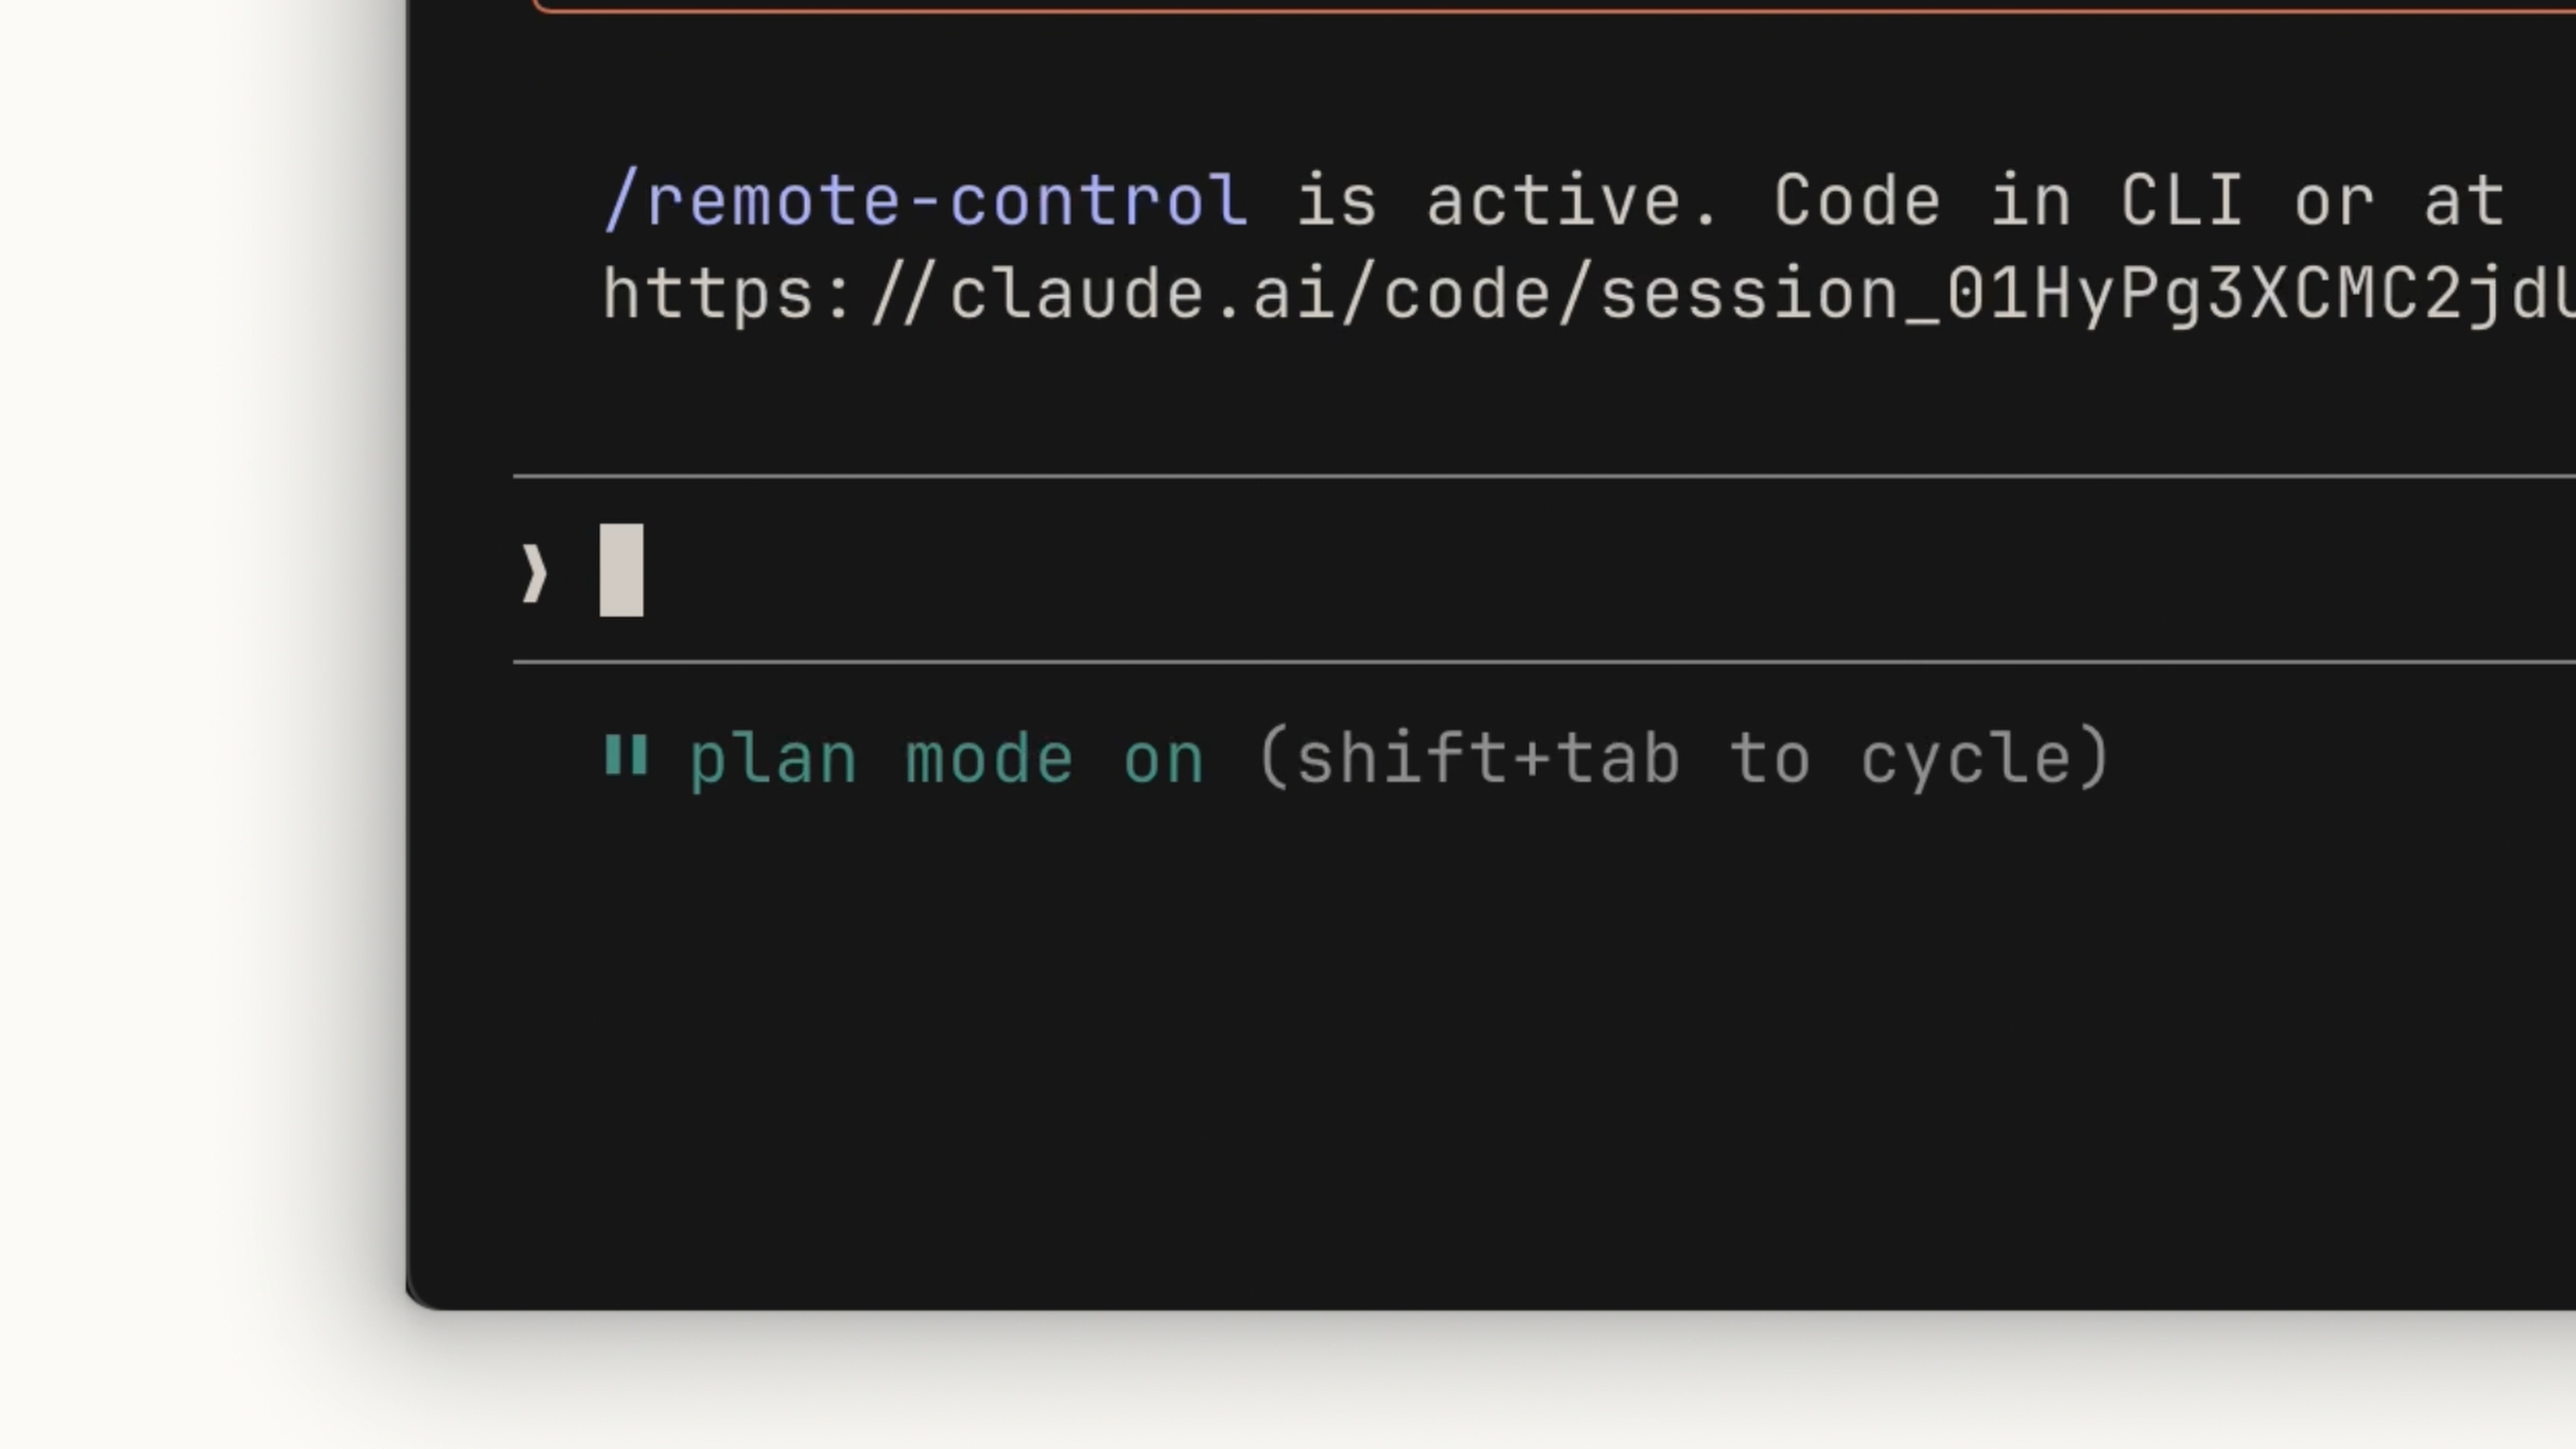
To enter plan mode, press Shift + Tab until you see "Plan Mode" under the text input. Then write a prompt like:
I need to add WebP conversion to our image upload pipeline. Figure out where in the pipeline it should happen, whether we need new dependencies, and how to approach it.
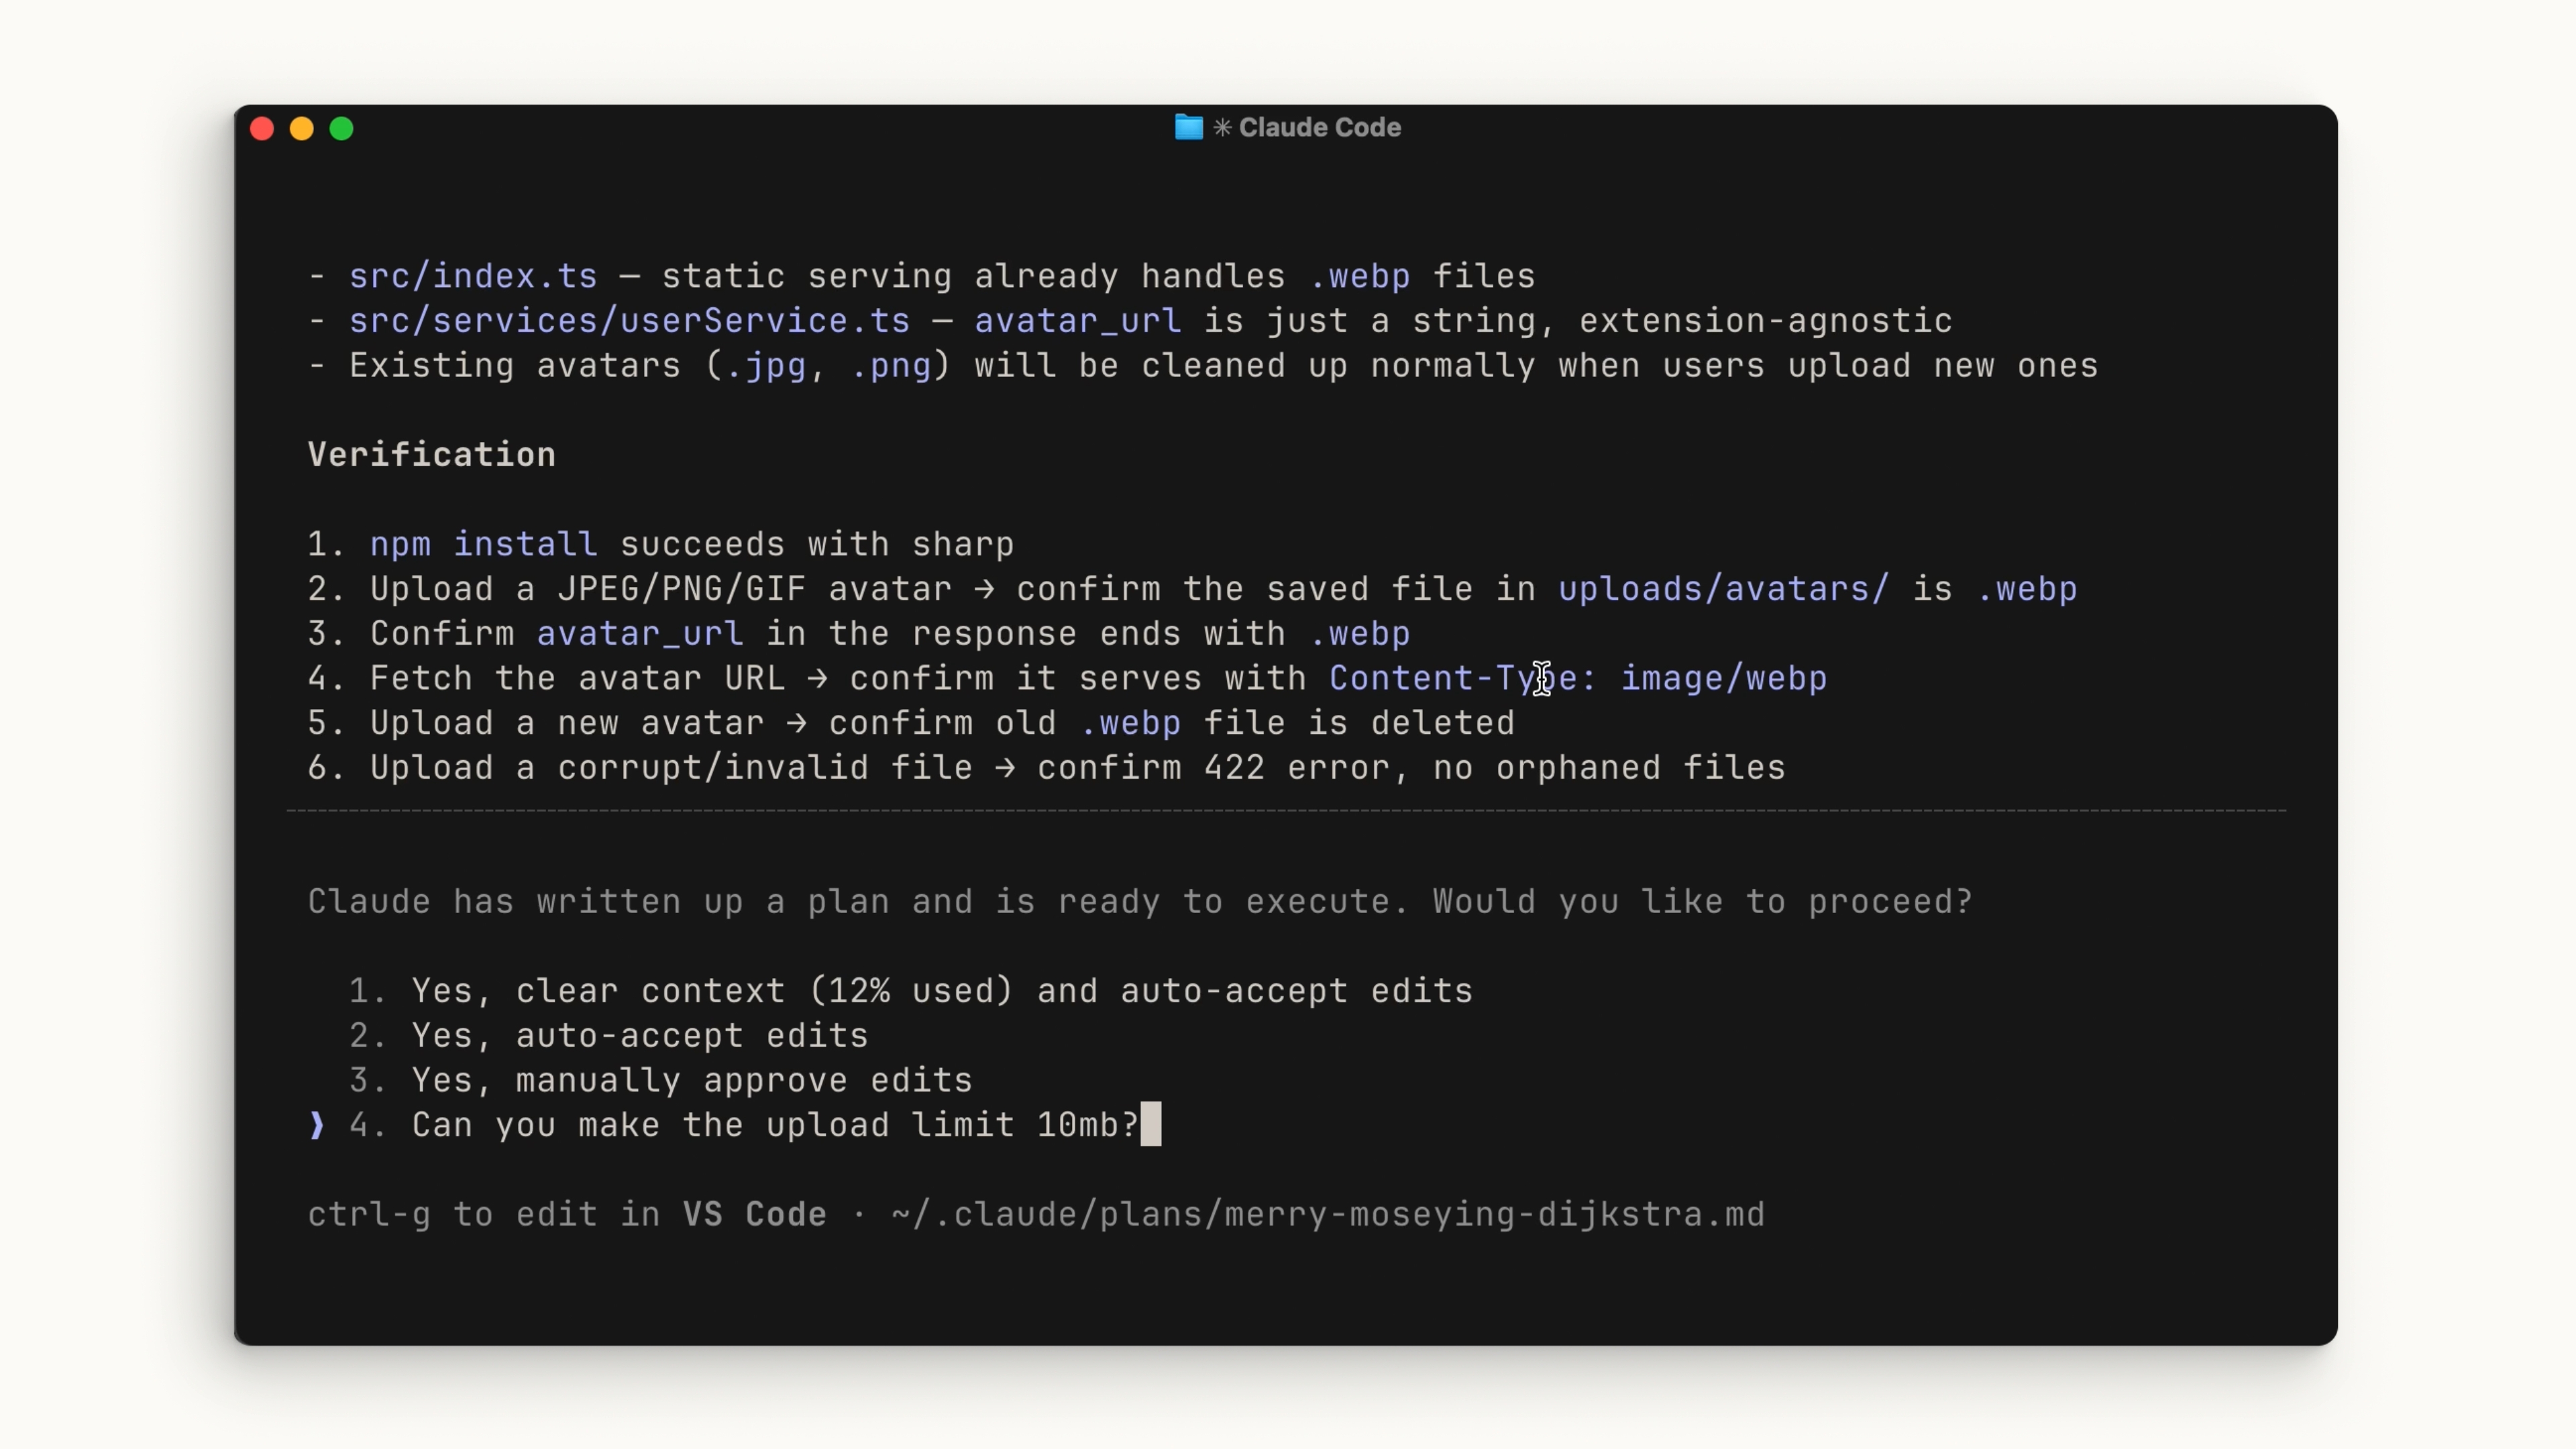
Claude will read relevant files, run some web searches, and give you a plan of action. Review it and decide if it meets your criteria. If not, ask it to revise specific areas.
This is the best place to course-correct because it's before any code is written. You can also run the explore subagent without being in plan mode if you just want a general summary of your codebase without intending to make changes afterward.
Code
Once the plan looks good, select "approve" to accept it and let Claude work through the list items. You can choose whether Claude auto-accepts file edits or asks you each time.
Claude will do its best to troubleshoot before considering the plan "finished," but at times you'll need to step in. This is the benefit of working with Plan Mode — after execution, you also have the context of how you got to the results, which helps guide Claude's next decisions.
A few tips to make the coding phase smoother:
-
Define a success criteria. For Claude to be confident in its results, it needs to be clear on what "correct" looks like. Make this explicit when writing your plan.
-
Add tools. Tools that help Claude complete its goals remove a lot of back and forth. For example, if you're building web UIs, install the Claude in Chrome extension so Claude Code can control a browser tab and test the UI directly.

-
Include a test suite. Give Claude a test suite it can continuously validate against. Claude can even write tests for you. Before handing this off, make sure the tests are a reliable source of truth to avoid false positives.
Quick tip: If you find Claude keeps running into the same issues, ask it to save the solution to its CLAUDE.md file.
Commit
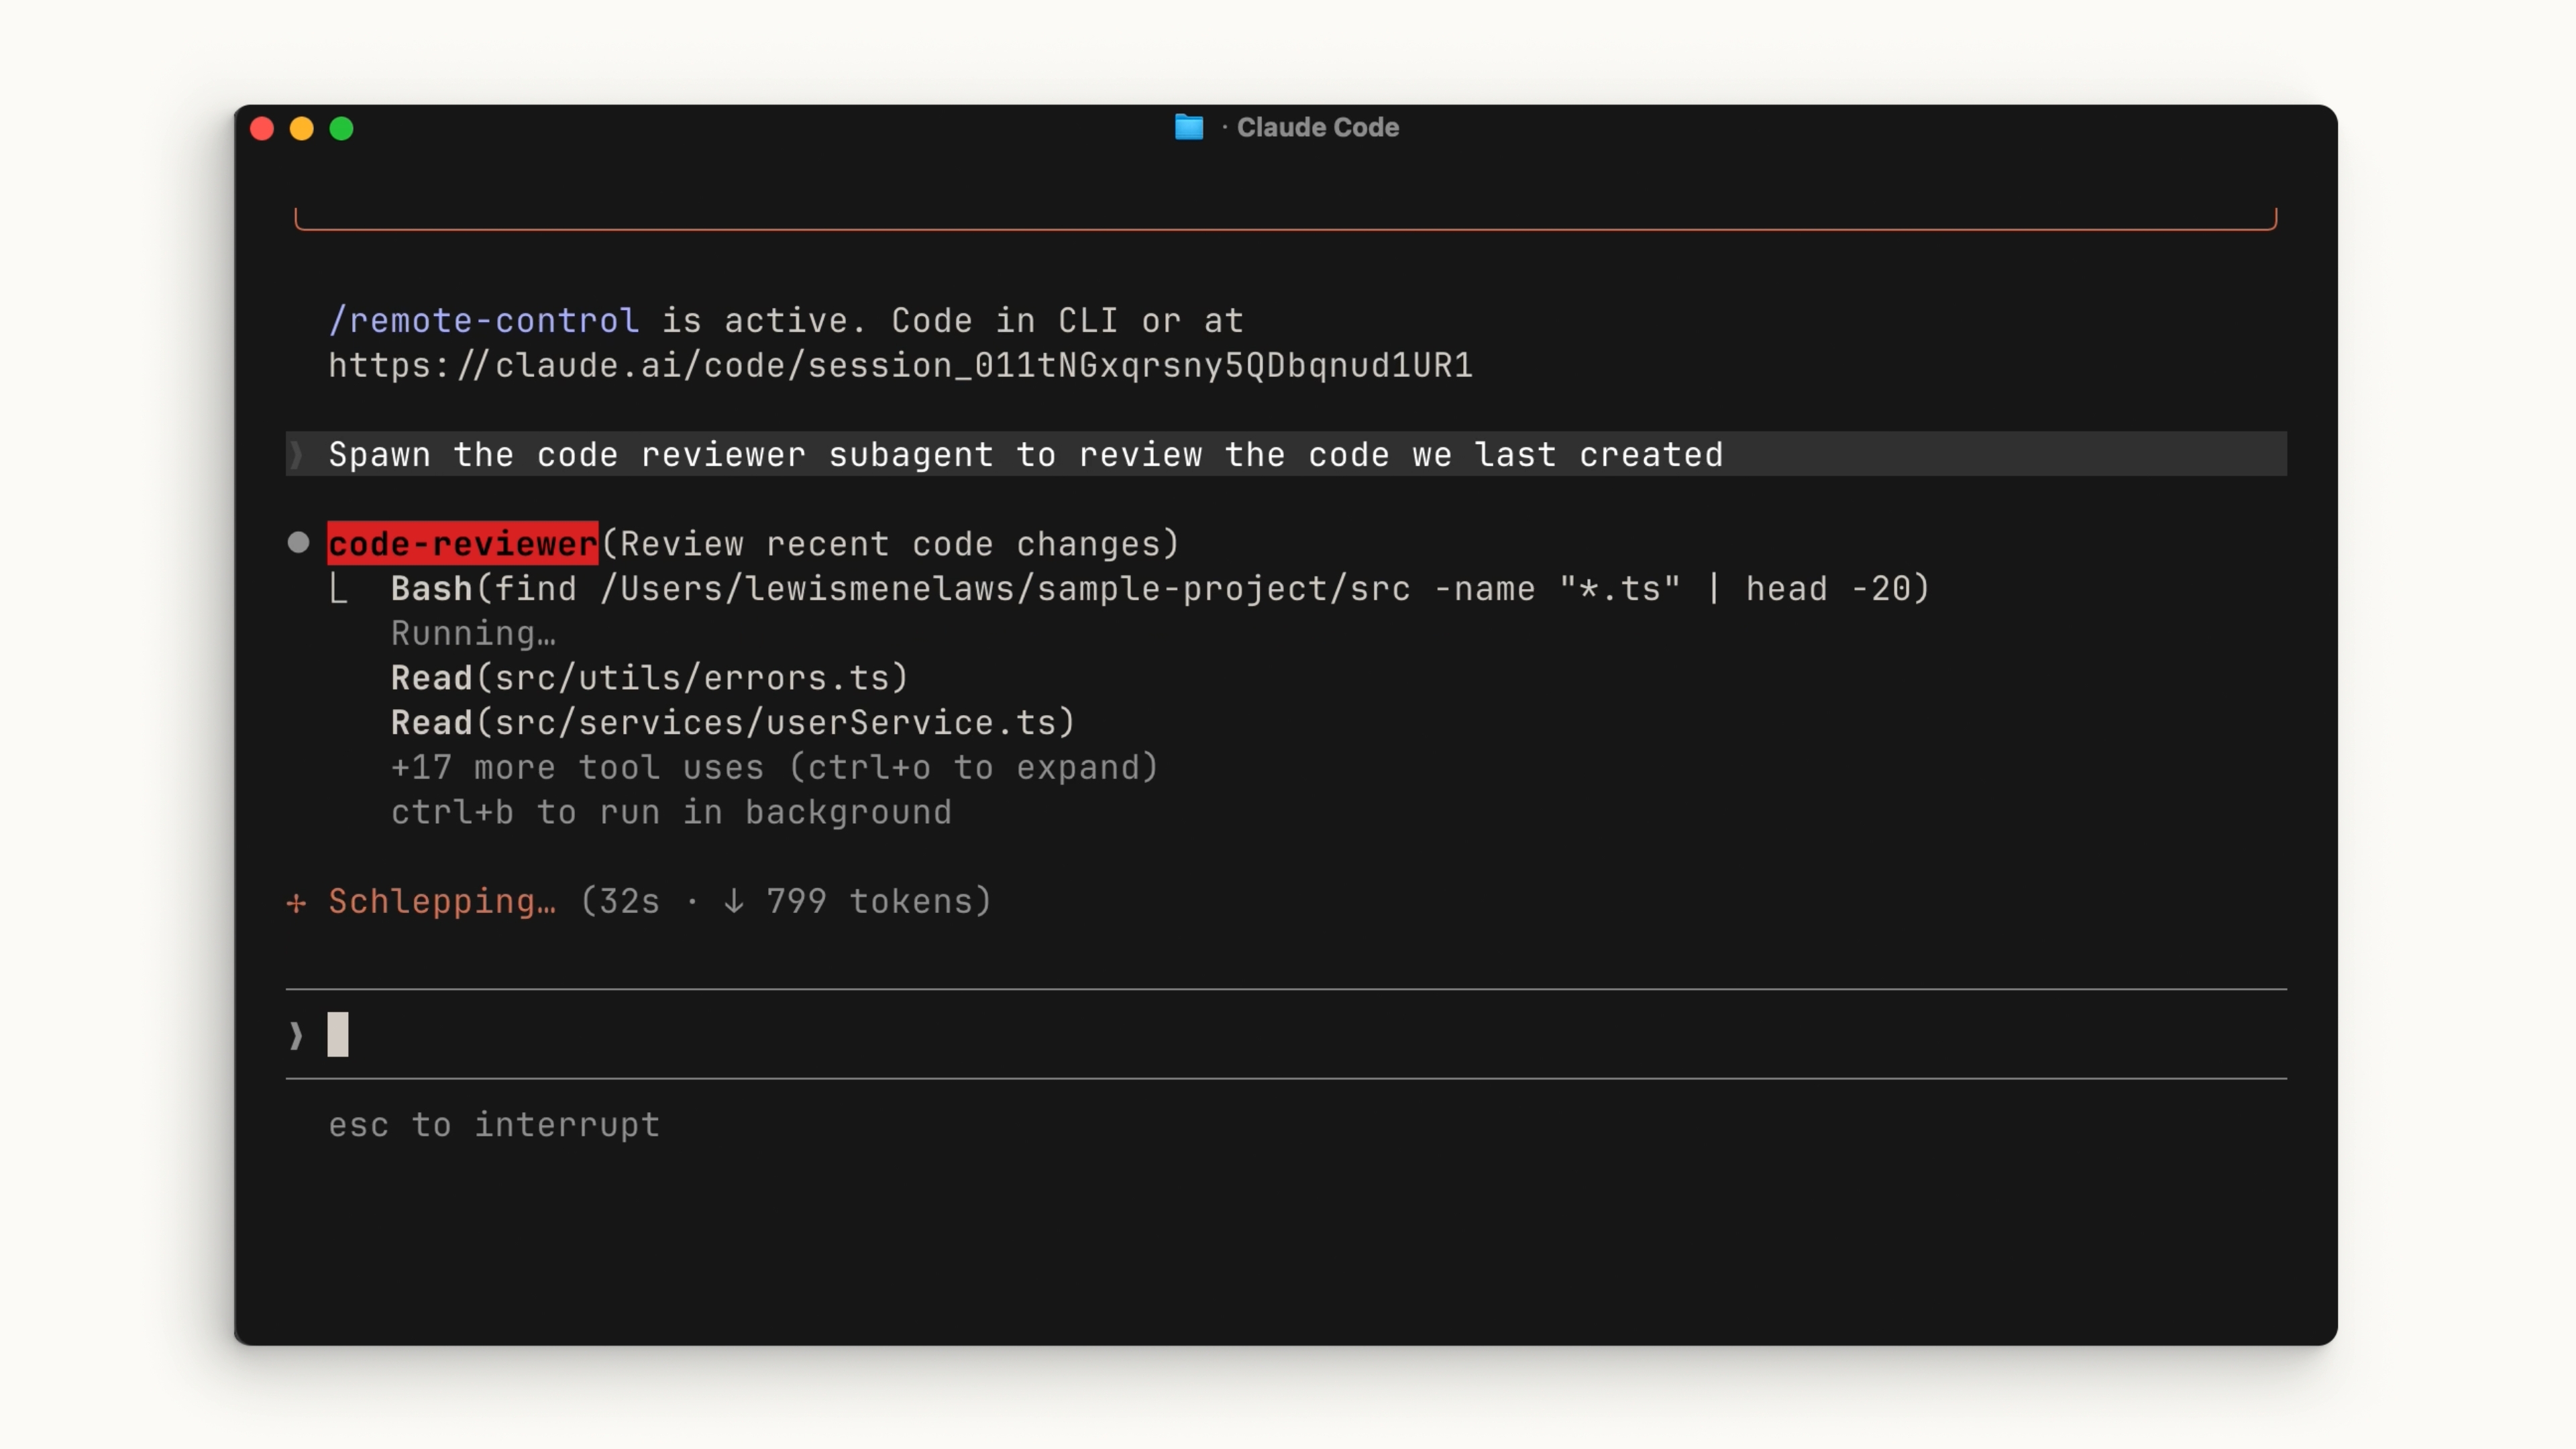
Once you've tested the changes yourself and are happy with the results, it's time to push your code. Before you commit, run a subagent code reviewer to look at your work. A subagent gets a fresh pair of eyes on the codebase — it doesn't carry the bias the main agent might have from the session.
Then get Claude to generate a commit message in your style. Rinse and repeat.
Recap
To be effective with Claude Code, follow the Explore, Plan, Code, and Commit workflow:
- Explore gives Claude the relevant context it needs for your project.
- Plan creates a plan of action that Claude uses to measure success.
- Code is the back and forth between you and Claude before settling on the final outcome.
- Commit helps you review and push your code so you can start on your next feature.
🎬 Video transcript
Source video:
xJQuF02NAK8
📜 Click to expand transcript (cleaned + AI-translated)
The Core Workflow: Explore, Plan, Code, and Commit
If you take one thing away from Claude Code, let it be this workflow: Explore, Plan, Code, and Commit. Without this, most people jump straight to asking Claude to write code, which often leads to more course-correcting later on.
Phase 1 & 2: Exploration and Plan Mode
The fastest way to handle steps one and two is with Plan Mode. In Plan Mode, Claude cannot edit files; it simply reads them to gather research on how to tackle the implementation. To enter Plan Mode, hit Shift + Tab until you see "Plan Mode" under the text input.
For example, if I need to add WebP conversion to our image upload pipeline, I would ask Claude to figure out where the pipeline should happen, whether we need new dependencies, and how to approach it. Claude will then read relevant files, perform web searches, and provide a plan of action.
Make sure you review this plan and determine if it meets your criteria. If not, you can ask Claude to add to or revise specific areas. This is the best place to course-correct because it happens before any code is actually written. You can also use exploration without being in Plan Mode by simply asking Claude to explore your codebase.
Phase 3: Coding and Implementation
Once the plan looks good, you can select Approve to accept the plan and let Claude tackle all the list items it provided. You can determine if you want Claude to auto-accept the file edits or ask for permission every single time.
Claude will do its best to troubleshoot your codebase before considering the plan finished. However, at times, you will still need to course-correct. This is the benefit of working with Plan Mode: after the plan is finished, Claude retains the context of how it reached those results, which helps guide its next decisions.
Enhancing Claude with Tools and Tests
In order for Claude to be confident in its results, it has to be clear on what it deems "correct." When writing your plan, make this explicit. Adding tools that help Claude complete its goals will remove a lot of back-and-forth.
- Web UIs: If you are building web UIs, ensure you have the Claude and Chrome extension enabled so that Claude Code can control a tab and test the UI before deeming it finished.
- Test Suites: Include a test suite in your project that Claude can continuously validate. Claude can even write tests for you. Before passing this off to Claude, ensure the tests are a "source of truth" for you and your team to avoid false positives.
- CLAUDE.md: If you find Claude keeps running into the same issues, ask it to save the solution to its
CLAUDE.mdfile for future reference.
Phase 4: Review and Commit
Once you have tested the results yourself and are happy, it is time to push your code. Before you commit, a useful tip is to run a sub-agent code reviewer to look at your work. Then, you can have Claude generate a commit message for you in your specific style.
Summary of the Workflow
To be effective with Claude Code, consistently follow the Explore, Plan, Code, and Commit workflow:
- Exploration: Provides the relevant context Claude needs for your project.
- Plan: Creates a plan of action that Claude uses to determine success.
- Code: The iterative back-and-forth between you and Claude before settling on the final outcomes.
- Commit: Helps you review and push your code so you can start on your next feature.
🔁 Related lessons
- Next: Context management
- Previous: Your first prompt
- Same section: Context management · Code review
- Part of paths: Path C
- Reference docs: Glossary · Skills atlas · By use-case
📚 Source & attribution
- Original Anthropic Academy lesson: https://anthropic.skilljar.com/claude-code-101/469792
- © 2025 Anthropic. Educational fair-use only.