(Show All)_ · **Lesson 2/4** · [🌐 Vietnamese](../../vi/02-creating-a-subagent/vi.md)
← Previous · 📋 Course TOC · Next →
Creating a subagent
👨💻 Track: Developer Track · 📚 Course: Introduction to Subagents · 🧭
Path C
📖 Lesson content
Claude Code comes with built-in subagents, but you can also create your own. Custom subagents specialize in specific tasks -- like reviewing code, writing tests, or checking documentation. They are defined as markdown files with YAML frontmatter that tell Claude when to use the subagent and how the subagent should behave.
Creating a Subagent
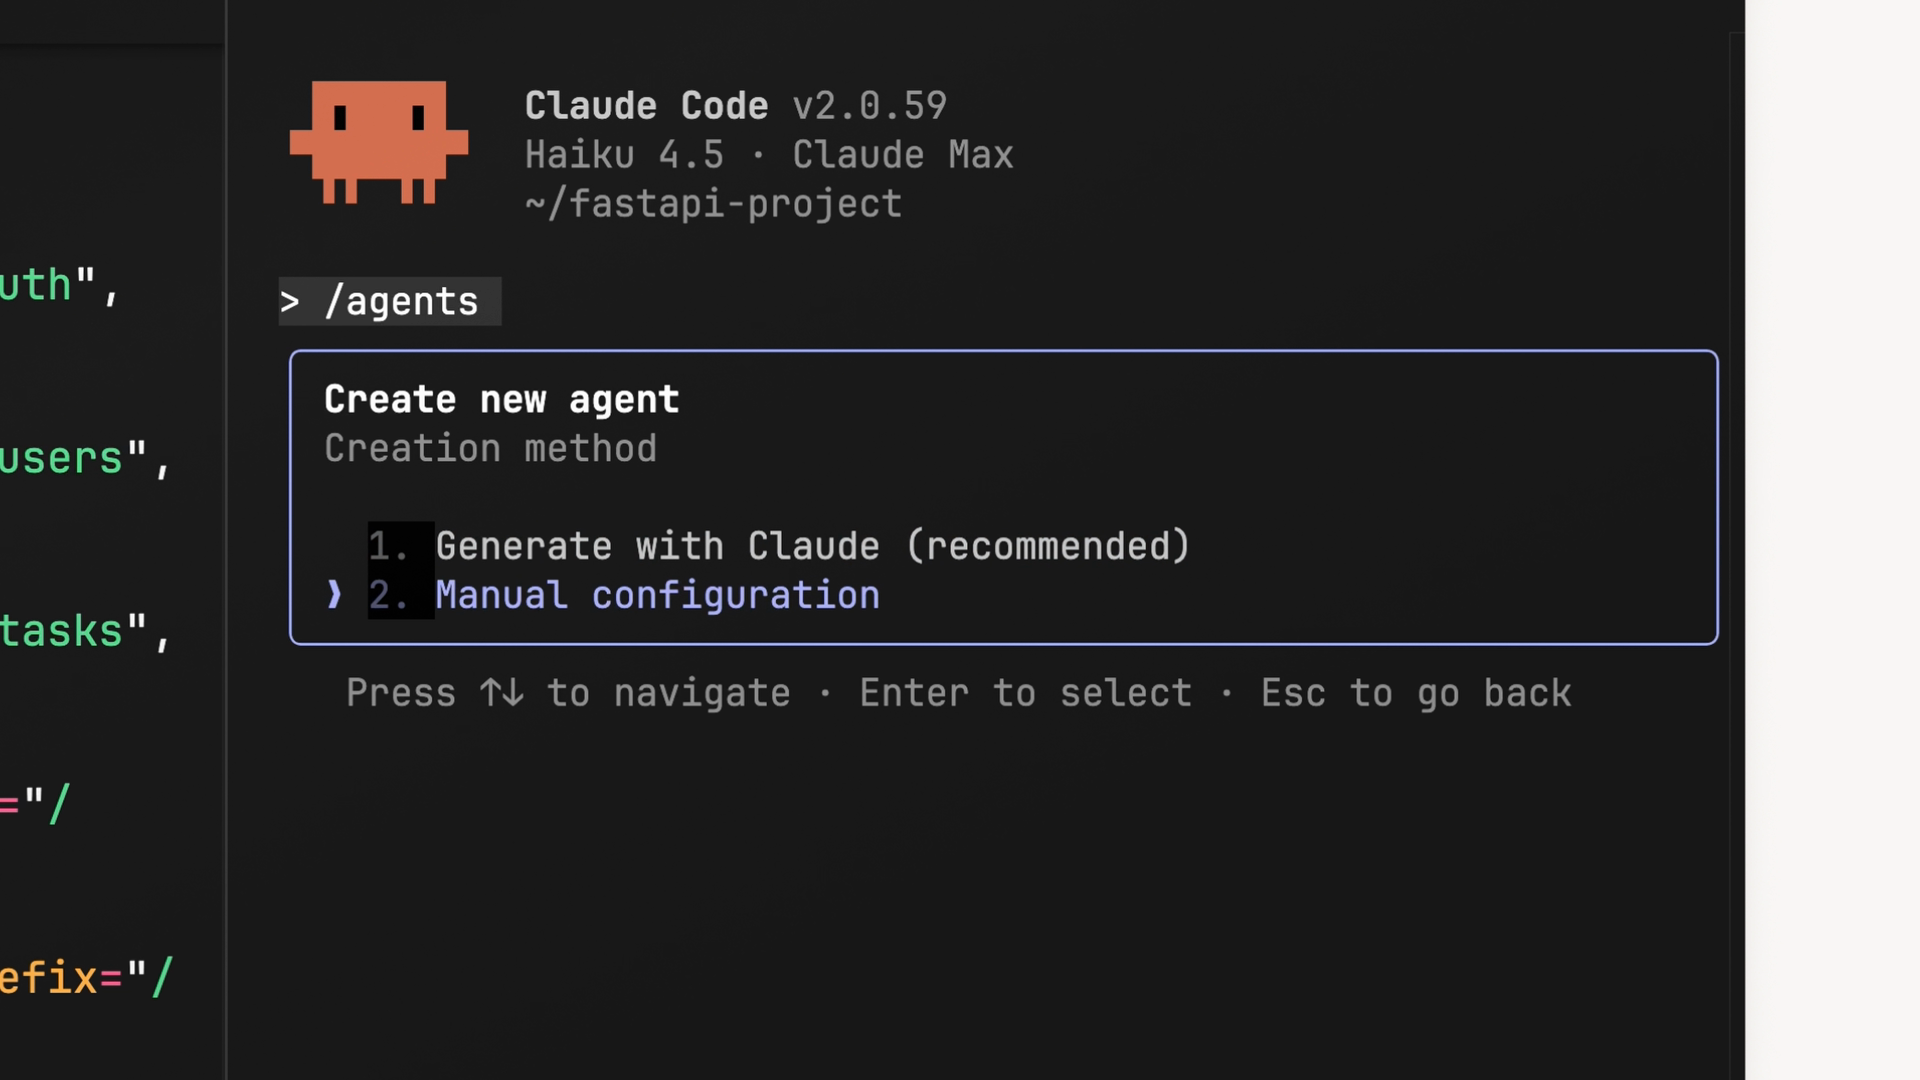
The easiest way to create a subagent is with the /agents slash command. This opens the main interface for managing your subagents. From there, select Create new agent.
You will first be asked to choose the scope of your subagent:
- Project-level -- available only in the current project
- User-level -- shared across all projects on your machine
Next, you can choose how to create it. You can write the configuration manually, but the recommended approach is to let Claude generate it for you. Just describe what you want the subagent to do, and Claude will produce a name, description, and system prompt based on your input.
Customizing Tools
During creation, you get the chance to customize which tools the subagent can access. The tool categories include:
- Read-only tools
- Edit tools
- Execution tools
- MCP tools
- Other tools
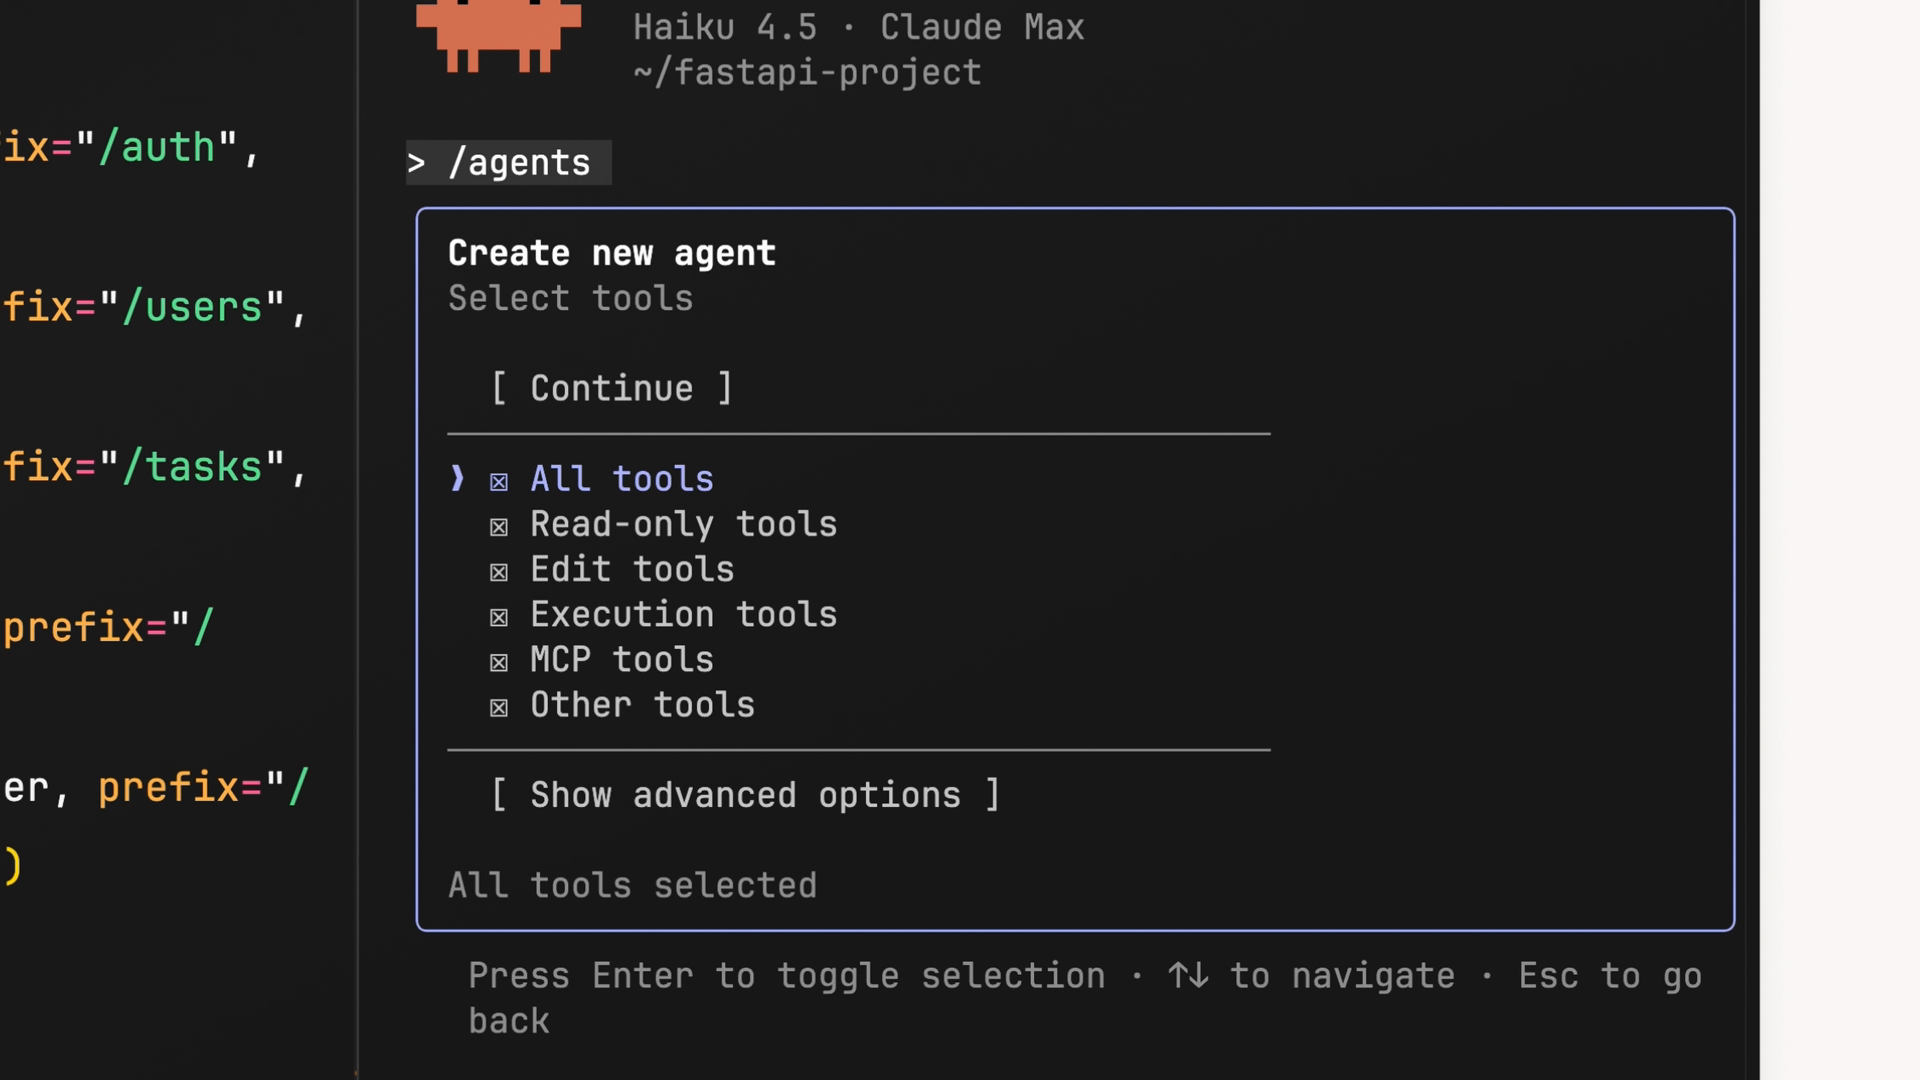
Think about what your subagent actually needs. A code reviewer probably does not need edit tools -- it should read and analyze code, not change it. However, you might want to keep execution tools enabled so it can more easily identify pending changes.
Choosing a Model and Color
After configuring tools, you select which Claude model powers the subagent. Your options are:
- Haiku -- best for fast, lightweight tasks
- Sonnet -- a good middle ground between speed and depth
- Opus -- best for complex analysis
- Inherit -- uses whatever model your main conversation is running
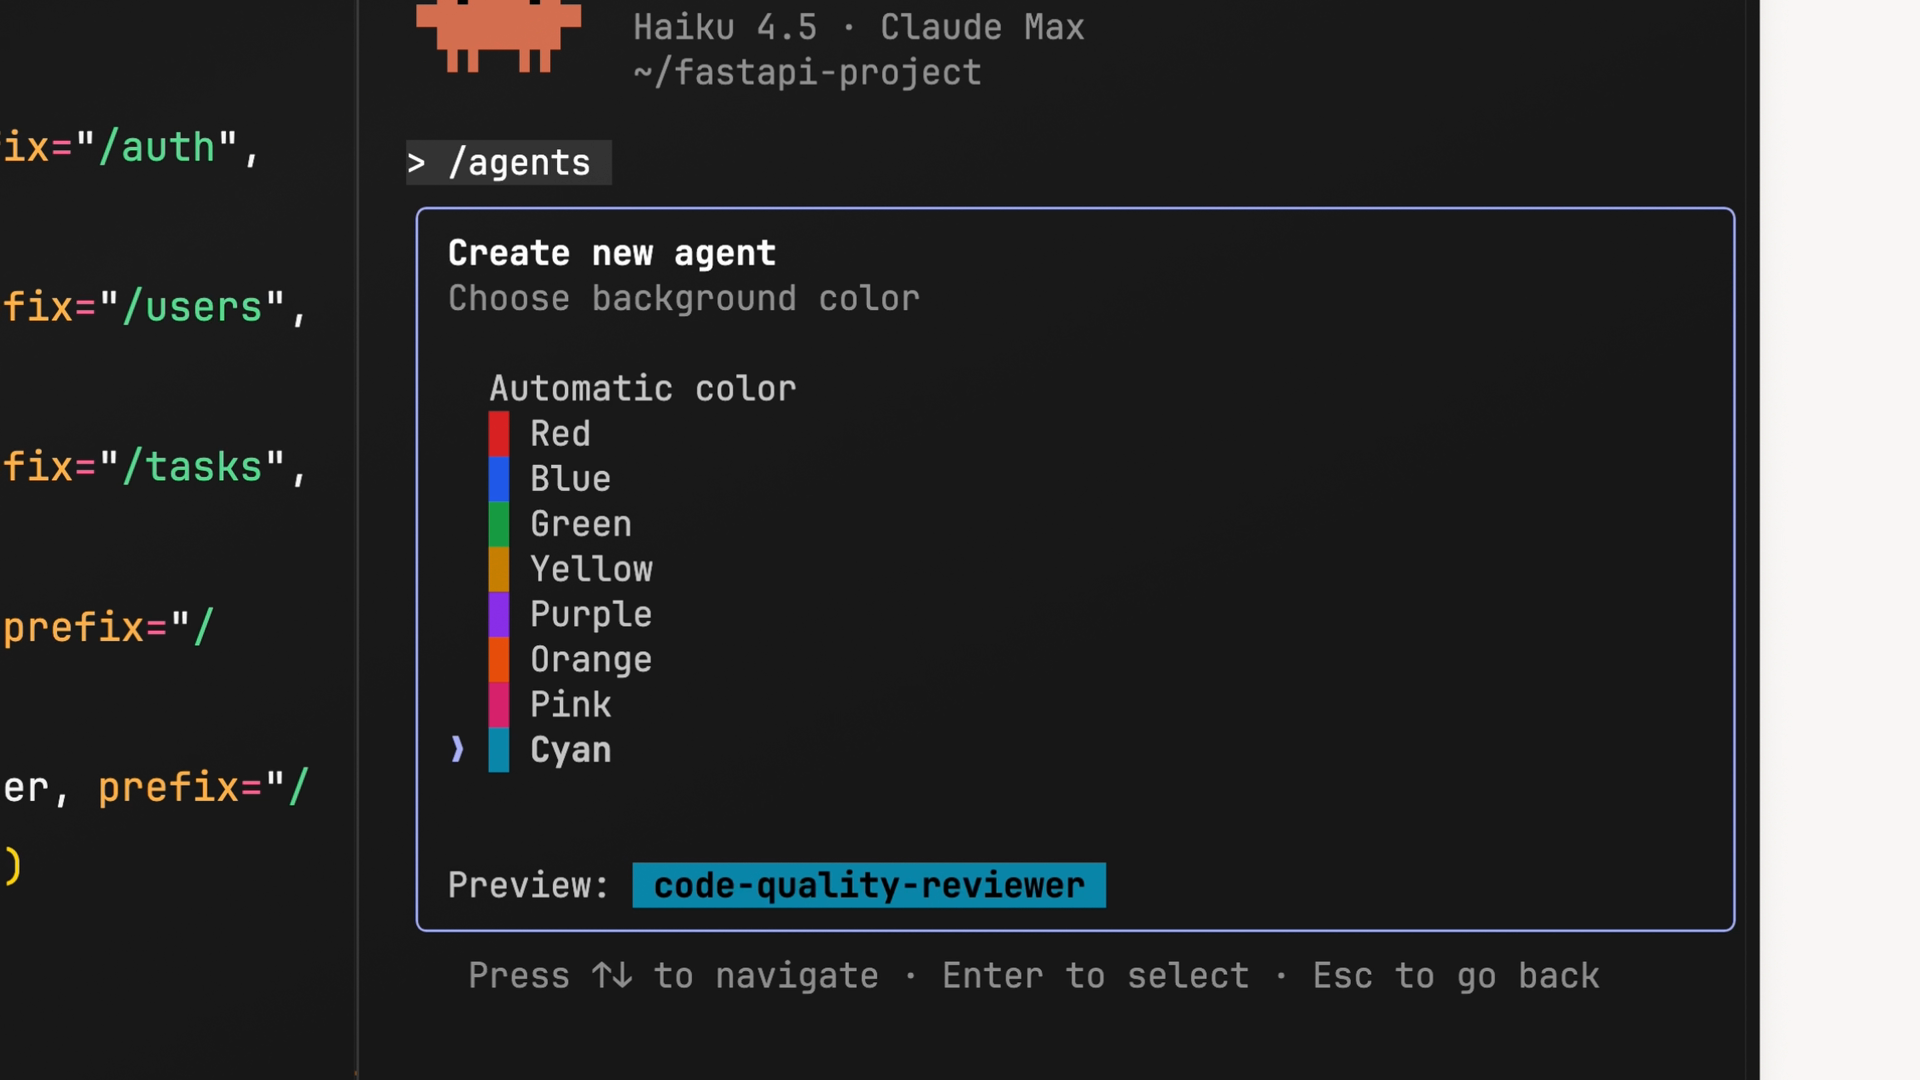
Finally, you pick a color. This shows up in the UI so you can quickly tell which subagent is active. It is a small touch, but it helps when you have multiple subagents running.
The Config File
Once creation is complete, the subagent config file is saved into your project (typically at .claude/agents/your-agent-name.md). Here is what a typical subagent config looks like:
---
name: code-quality-reviewer
description: Use this agent when you need to review recently written or modified code for quality, security, and best practice compliance.
tools: Bash, Glob, Grep, Read, WebFetch, WebSearch
model: sonnet
color: purple
---

You are an expert code reviewer specializing in quality assurance, security best practices, and
adherence to project standards. Your role is to thoroughly examine recently written or modified code
and identify issues that could impact reliability, security, maintainability, or performance.
Let's break down each field:
name-- A unique identifier for the subagent. This is how you reference it, either by asking Claude directly or by typing@agent code-quality-reviewerin your message.description-- Controls when Claude decides to use the subagent. This must be a single line (use escaped newline characters\nif you need breaks). You can include example conversations here to help Claude understand when delegation is appropriate.tools-- Lists which tools the subagent can access. This matches whatever you selected during generation, but you can edit the list here at any time.model-- Specifies which Claude model to use:sonnet,opus,haiku, orinherit.color-- The UI color for identifying the subagent.
System Prompts
The body of the markdown file (everything below the YAML frontmatter) is the system prompt. This is where you give the subagent its instructions: what it should focus on, how it should analyze things, and how it should report findings back to the main agent.
A well-written system prompt is the difference between a useful subagent and one that misses the point. Be specific about what the subagent should look for and how it should structure its output.
Making Claude Use Your Subagent Automatically
If you want Claude to delegate tasks to the subagent without you explicitly asking, include the word "proactively" in the description field. For example:
description: Proactively suggest running this agent after major code changes...
You can also add example conversations to the description to help Claude understand specific scenarios where the subagent should be used. The more concrete your examples, the better Claude gets at knowing when to delegate.
Testing Your Subagent
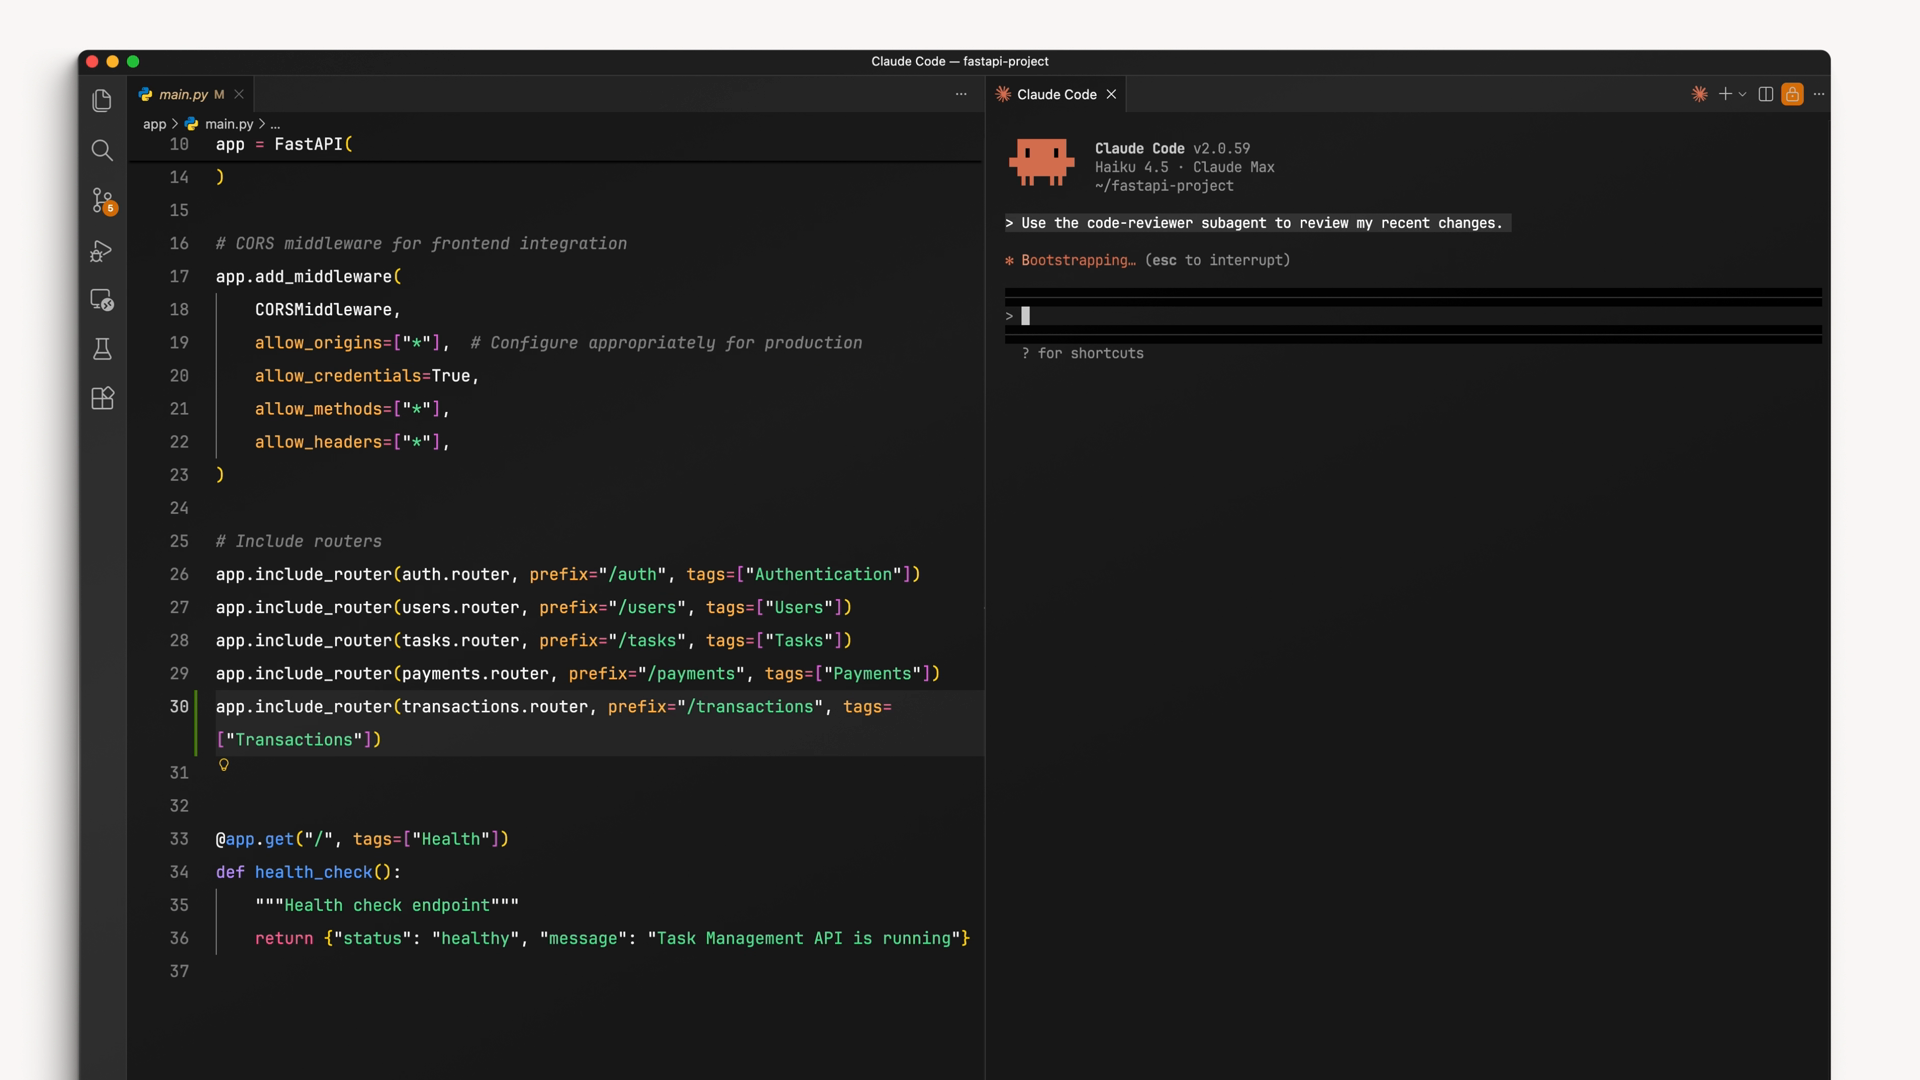
After creating your subagent, test it by making some code changes and asking Claude to review them.
If the subagent is not being used when you expect it to be, go back and check the description. Adding more specific examples and trigger scenarios helps Claude understand when to delegate work to your subagent.
🎬 Video transcript
Source video:
arD6qEWa2Xc
📜 Click to expand transcript (cleaned + AI-translated)
Introduction to Custom Subagents
In the previous video, we covered what subagents are and how they work. Claude Code includes built-in subagents, but you can also create your own subagents specialized in certain tasks. Custom subagents are Markdown files with YAML front matter. These files contain configuration that helps Claude understand when to use the subagent and provide directions to the subagent itself.
Creating a Subagent via the Interface
The easiest way to create a subagent is with the /agents command. This panel is the main interface for managing your subagents. Once here, select "Create New Agent." You will then be asked if you want to create a subagent for the current project or a subagent that will be shared between all projects on your machine.
Next, while you can create a subagent manually, we recommend using Claude Code to automatically generate it for you. For our first subagent, we will create a "Code Reviewer." I will ask Claude to make a subagent that reviews code quality and security issues. Claude will use your input to generate a name, description, and system prompt for the subagent.
Configuring Subagent Capabilities
Before finalizing, we have the opportunity to customize the tools that this subagent has access to. Given that our subagent is only responsible for reviewing code, you might decide to disallow tools for editing. However, I will leave execution enabled to allow the subagent to more easily identify pending changes.
Next, you will be prompted to select the model that powers the subagent and, finally, a color. This color is used in the UI to help you better identify the subagent and adds a bit of personal flair. At the summary window, we can see that the subagent configuration file will be saved into the current project path.
Understanding the Subagent Configuration File
Let’s open up that file to get a better idea of what is going on.
Key Fields in the YAML Front Matter
- Name: This field is a unique identifier. This is how you reference the subagent, either by asking Claude directly or using
@agent code-quality-reviewerin your message. - Description: This controls when Claude decides to use the subagent. The description must be on a single line (notice the escaped newline characters). If you want Claude to use the subagent automatically more often, add the word "proactively" to the description.
- Example Conversations: You can add example conversations to help Claude understand exactly when it should be using the subagent.
- Tools: This field lists which tools the subagent can access. This will match the tools granted during generation, but you can further edit this list manually.
Model Selection and System Prompt
The Model field specifies which Claude model to use: Sonnet, Opus, Haiku, or Inherit.
- Use Haiku for fast tasks.
- Use Opus for complex analysis.
- Use Sonnet if you need a balance between the two.
- Inherit will use the same model as your main conversation.
The Body of the file contains the system prompt given to the subagent. The system prompt provides guidance, helping the subagent understand how to complete its task and how it should return information back to the main agent.
Testing and Refining Your Subagent
After creating your subagent, test it by making some code changes and assigning Claude to review them. If the subagent isn't being used when you expect, check your description. Adding more specific examples helps Claude understand when to delegate tasks effectively.
🔁 Related lessons
- Next: Designing effective subagents
- Previous: What are subagents?
- Same section: What are subagents? · Designing effective subagents · Using subagents effectively
- Part of paths: Path C
- Reference docs: Glossary · Skills atlas · By use-case
📚 Source & attribution
- Original Anthropic Academy lesson: https://anthropic.skilljar.com/introduction-to-subagents/450699
- © 2025 Anthropic. Educational fair-use only.